
FIELD NOTES / 02 / English guide
Transport Fever 3 No Path: Find the Broken Segment Before Rebuilding
Diagnose a TF3 train or vehicle with no path by checking depot access, consecutive stops, terminal choices and one-way signals in a controlled order.
Updated Oct 11, 2026 · Based on official manuals and public tutorials, with key material rechecked. Version differences are noted; not individually playtested.
On this page
When Transport Fever 3 reports No Path, first identify which connection the vehicle cannot complete. Check the route from its depot and then each pair of consecutive stops, including the return leg. A train waiting for an occupied route needs a different investigation from a route that cannot be reached at all.
01 / Locate the failure, not just the stranded train
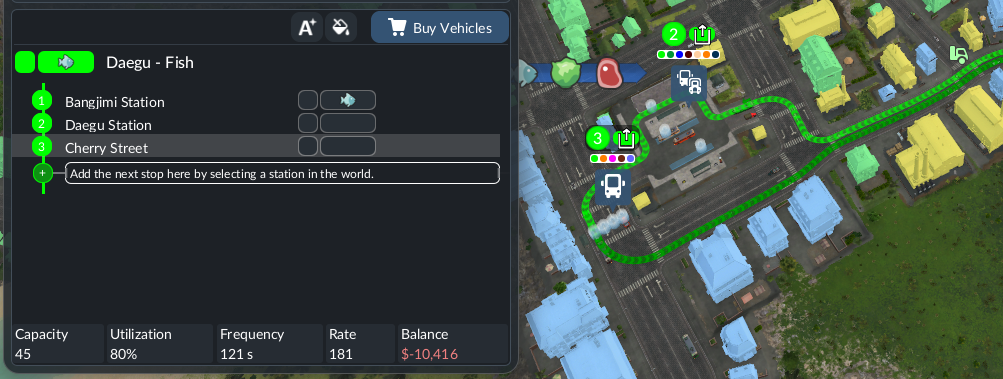
Open the affected line and note the vehicle, its current location and the next stop. The official manual describes connection warnings against problematic line segments and terminal choices. Use those warnings to narrow the search rather than inspecting every track on the map. Official line manual.
Our recommended first note is “vehicle at A cannot reach B.” If the message changes after an edit, update the note. Do not assume that a large station's nearest visible platform is the platform assigned to this line.
02 / Check the depot-to-first-stop trip
A newly purchased vehicle has an additional trip before it can operate the service: it must leave its purchase depot and join the line. The official station manual specifically requires a valid connection from a depot to the first stop. Stations and depots.
For a vehicle that never departed, start here. Trace the depot exit to the selected first stop, inspect recent junction changes, and compare that path with the operating route. Buying another vehicle in the same depot will not repair the connection. If the service already runs with other vehicles, their successful trips are useful evidence about which part is different.
03 / Test the route as separate legs
Write down the actual stop order: A → B → C → A, for example. Trace every leg in that direction. “A connects to B” does not establish that C can return to A.
For a small diagnostic experiment, save a separate copy, reduce the test line to the affected pair of stops and temporarily remove optional waypoints from that copy. Restore the full stop list only after the simple route works. This is a suggested isolation method, not a claim that we tested your save. If removing a waypoint changes the result, inspect the detour it required before deciding to delete it permanently.
04 / Inspect direction restrictions and terminal access
A one-way railway signal cannot be passed from its back. An ordinary signal facing the other direction is not automatically the same restriction. The distinction matters when a route worked before a signal change. Official signal guide.
Inspect both directions of a single-track service. Then check the actual platform and the approaches used to reach it. An additional platform is useful only if the route can reach it; do not treat visible spare track as proof. For general junction operation, continue with our railway signal guide.
05 / Separate an impossible path from a blocked path
A queue outside a station is not by itself a No Path diagnosis. Record the exact warning and whether the vehicle can depart when the conflicting traffic clears.
If the path exists but trains remain locked together, investigate reservation conflicts and where they are waiting. If the route is unreachable, keep checking direction, connection and stop choice. Increasing train count mixes a capacity problem into a connectivity problem; establish one successful trip first. Our station-building walkthrough provides the related infrastructure checks.
06 / Verify the fix over a complete circuit
Let the test vehicle reach the problem stop, leave it and complete the return trip. Repeat long enough to observe the troublesome junction again. Check whether the warning has disappeared and whether other lines still operate.
Keep a short record: exact message, vehicle, stop pair, recent edit and the single change that restored the route. If the issue persists, those details and a view of the relevant approaches are much more useful than a full-map screenshot. Once the route is stable, use the line planner to assess capacity rather than buying vehicles to solve a missing connection.