FIELD NOTES / START HERE
Practical Transport Fever 3 guides
Thirteen illustrated guides explain the steps, operating decisions, and checks behind a working network—from the first bus to production chains, vehicles, and mods.
Build stations → earn money → get a town working. Then explore cargo, railways, vehicle selection, mods, and planning tools.

Transport Fever 3 Beginner Guide: Build a Network That Actually Works
A practical first-hour route through map choice, station construction, your first bus and cargo services, operating costs, and a town that can use them.
Read guide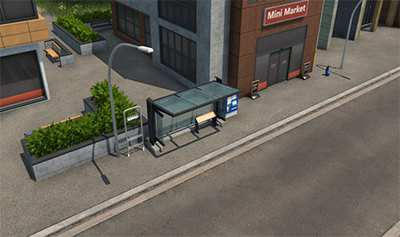
How to Build Stations in Transport Fever 3: Stops, Terminals, and Connections
Build a passenger stop, cargo station, or railway station from the construction menu, connect its access, assign a line, and extend it when demand grows.
Read guide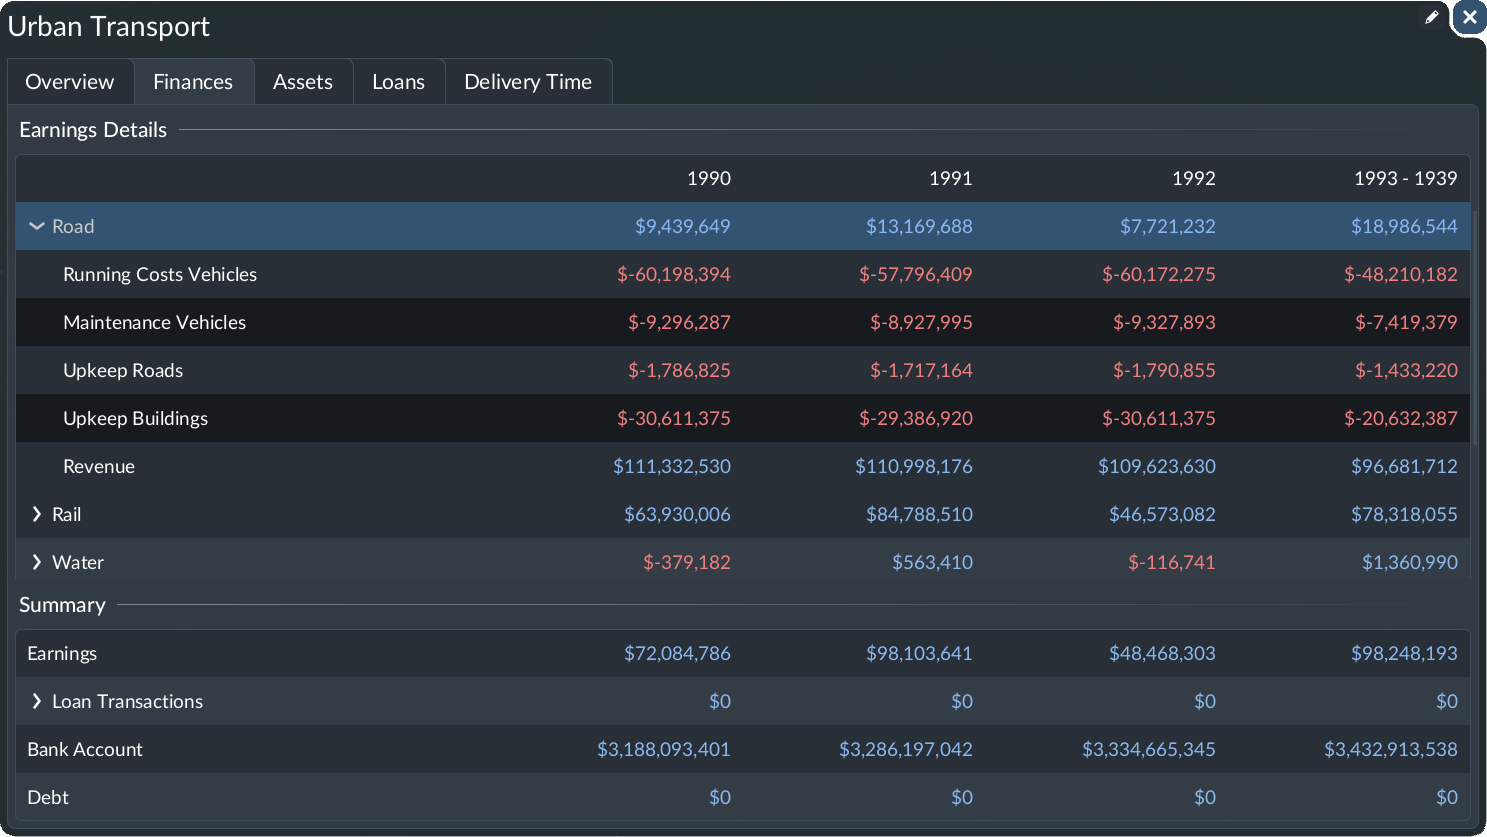
How to Make Money in Transport Fever 3: Routes, Costs, and Expansion
Build a modest bus or cargo business, diagnose expensive empty runs, compare operating periods, and manage loans without confusing cash with profit.
Read guide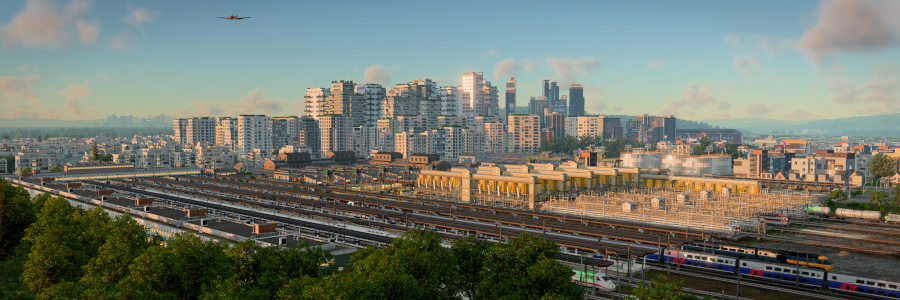
Transport Fever 3 Town Growth: Build a City People and Cargo Can Use
Connect commuting, shopping, deliveries, and intercity travel, then diagnose supply gaps, traffic delays, noise, and the weakest town rating.
Read guide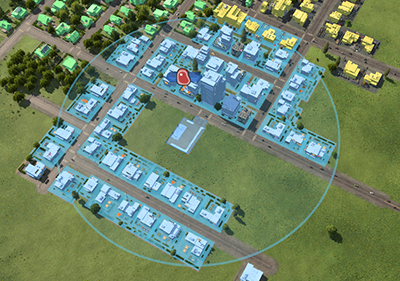
Your First Bus Line in Transport Fever 3: From Two Stops to Real Passengers
Plan a useful passenger trip, place stops, connect a depot, assign buses, inspect boarding, and decide whether the next fix is coverage or capacity.
Read guide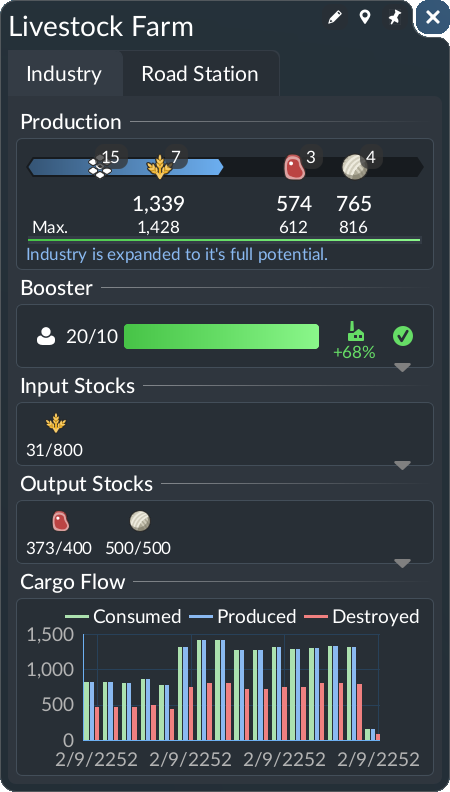
Transport Fever 3 Cargo and Production Chains: Build Your First Delivery
Work backward from demand, inspect production inputs and output stocks, choose compatible vehicles, configure pickup, and validate every stage of a cargo chain.
Read guide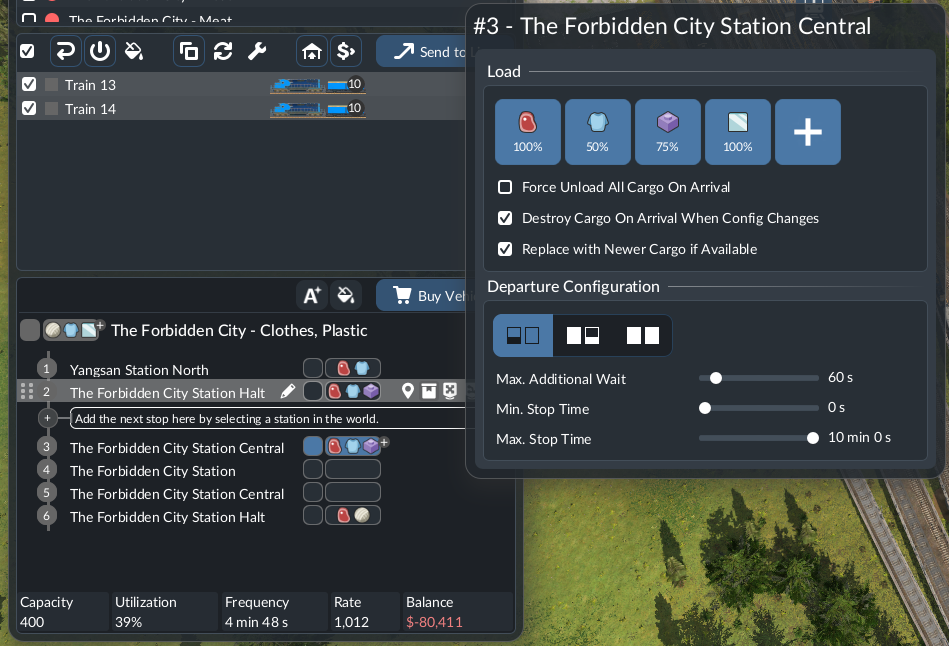
Transport Fever 3 Cargo Not Loading? A Step-by-Step Troubleshooting Guide
Locate the first failed stage: production, pickup, unloading, storage, or onward delivery. Diagnose empty vehicles, partial unloading, and cargo carried back to the source.
Read guideTransport Fever 3 Intercity Buses: Connect Towns Without Creating a Giant Loop
Design a direct town connection with useful local feeders, test walking transfers, balance capacity, and diagnose where an end-to-end passenger journey fails.
Read guide
Transport Fever 3 Warehouses: Transfer Cargo Between Ships, Trains, and Trucks
Place shared storage within the right connections, allocate cargo modules, prove inbound and outbound transfer, and diagnose warehouses that never empty.
Read guide
Transport Fever 3 Railway Signals: Fix Stuck Trains and Expand Shared Track
Diagnose the path a train needs, create usable passing space, keep junctions clear, check one-way restrictions, and validate a second train before scaling up.
Read guide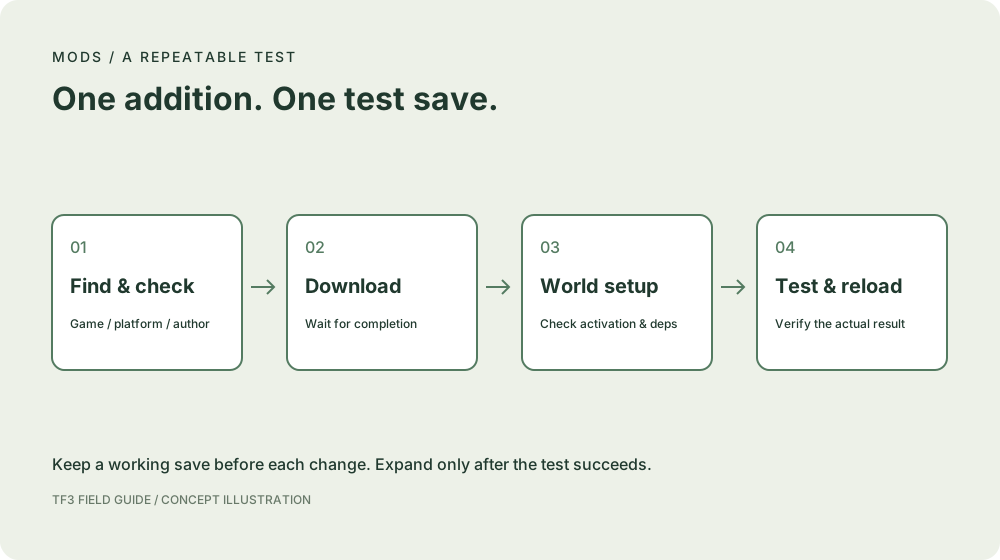
Transport Fever 3 Mods: Installation, Compatibility, and Troubleshooting
Learn how to install Transport Fever 3 mods, choose useful additions, check dependencies, and isolate mods that are not working.
Read guide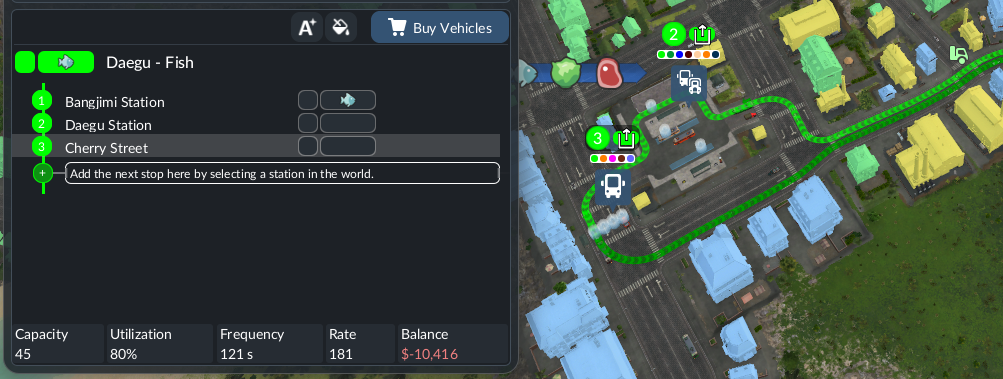
Transport Fever 3 Vehicles: A Practical Selection and Fleet-Sizing Guide
Use a Transport Fever 3 vehicle list wisely: compare compatibility, capacity, real journey times, costs, and the number of vehicles a line actually needs.
Read guideTransport Fever 3 Wiki and Tools: Guides, Calculators, and Planning Resources
Find the official manual, practical guides, vehicle comparisons, production-chain calculators, line planners, mod resources, and useful community discussions.
Read guide